Jira Activites
Description
With Jira Activities you can connect your Matrix42 DWP to the Project management Tool Jira by Atlassian and organize your Incidents easily on your Matrix42 User Interface.
The new Jira Activities enable you to register Incidents and automatically have them created in Jira through your User Interface. You won’t have to create Incidents seperatly anymore significantly reducing possible mistakes. Changes made in the status are automatically compared and updated. For advanced data capture, custom text fields in Jira can be directly filled with data from Matrix42. The provided examples create easy access to a basic understanding of the product.
Contents of delivery
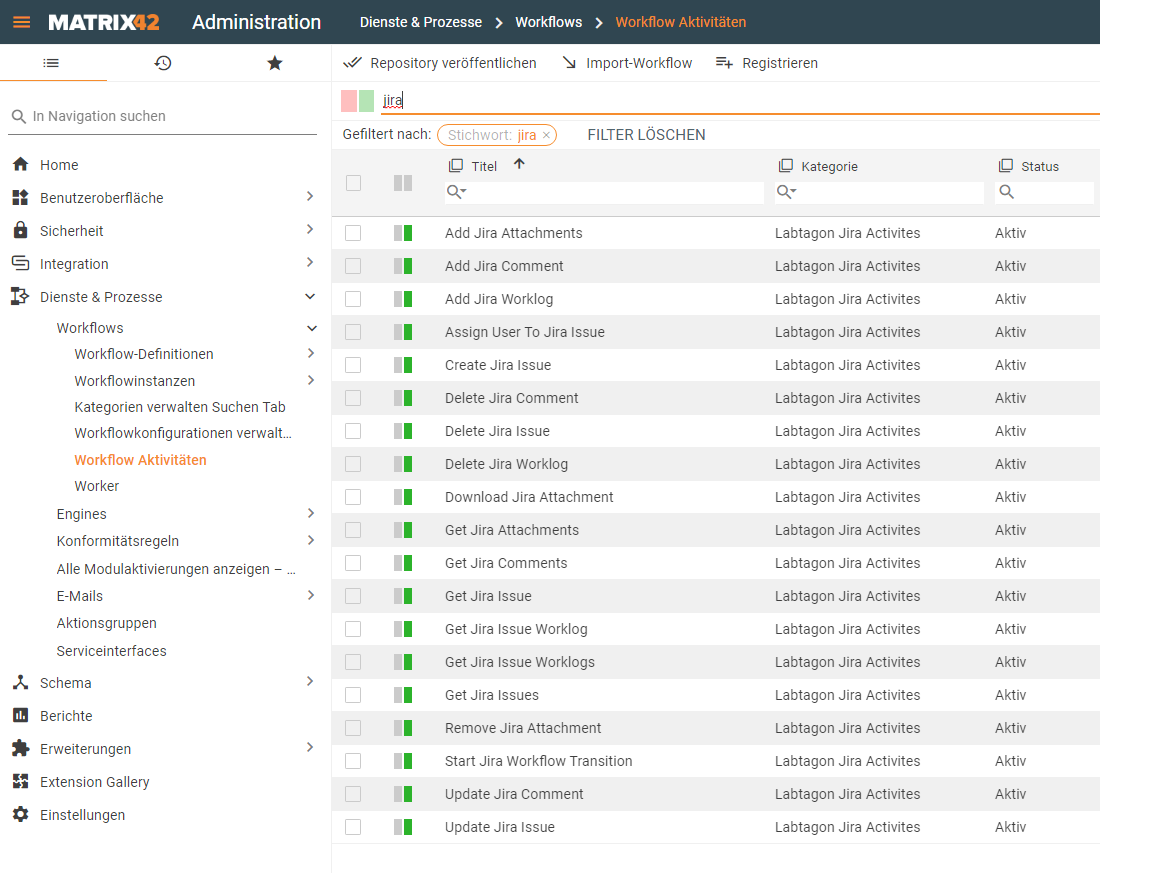
Activites
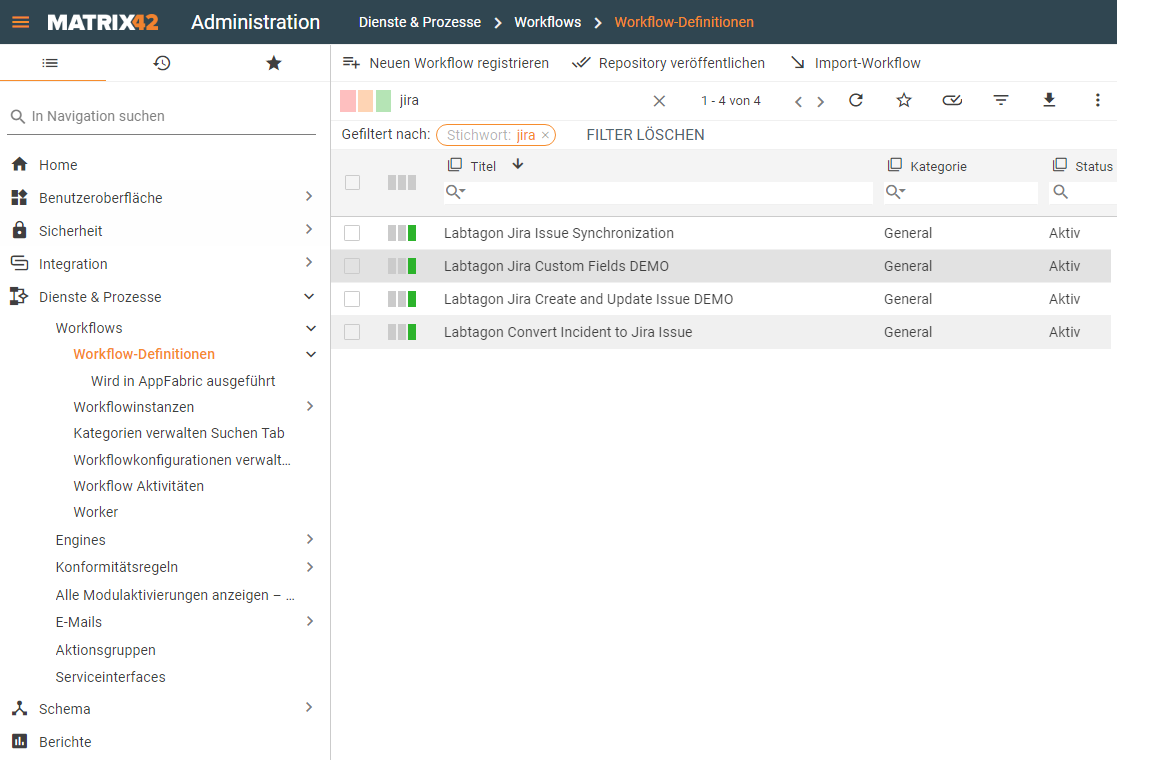
Workflows
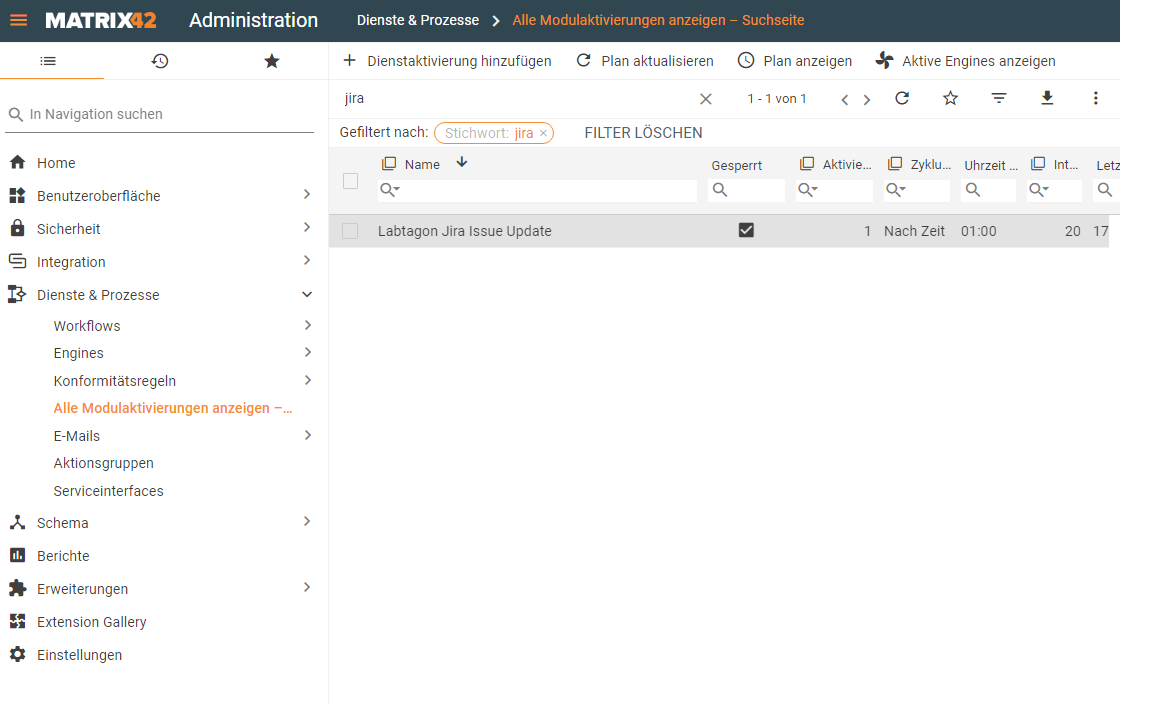
Module Activations
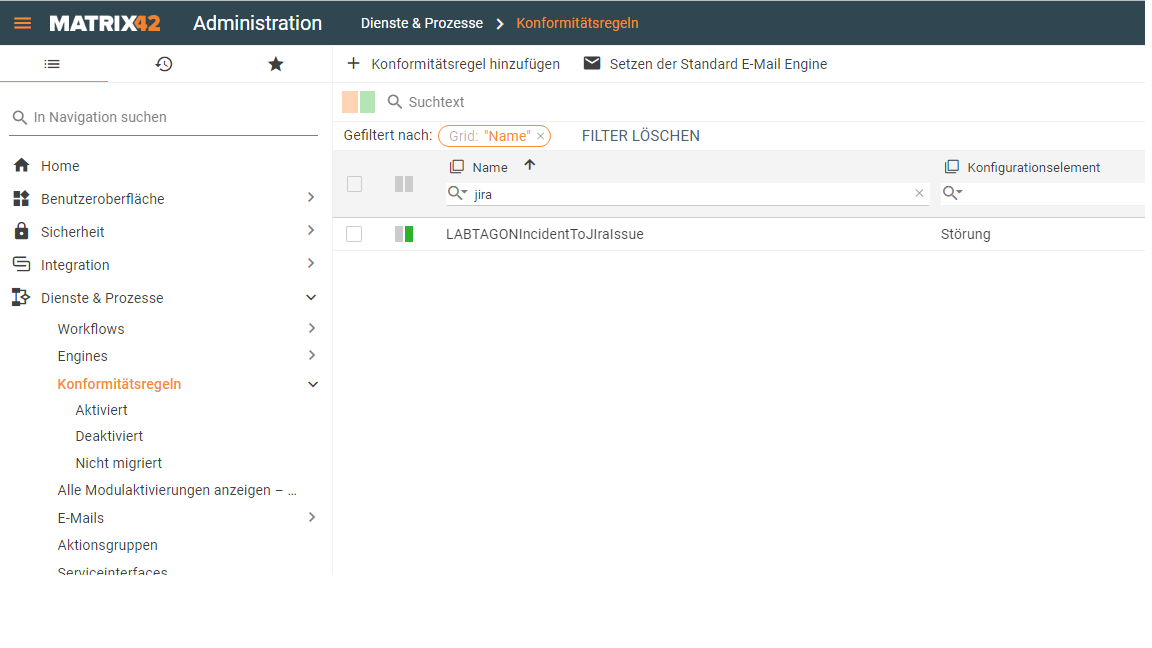
Compliance Rules
(Initially deactivated. Please activate if you want to be able to convert Incidents.)
Configuration in Jira for the Compliance Rules
Please add the following field as a CustomField in Jira: „Matrix42TicketNumber“
This is required in order to use Compliance Rules. Which save the Ticket number in this field after creating a Matrix42ESM Incident.
Restrictions of Custom Fields
Before use it is essential for the CustomFields to exist in Jira. Additionally, these must be available as standard in the issue. Not all kinds of CustomFields are supported by Jira Activities.
Oauth Configuration
To enable Oauth in ESM as authentification there are multiple steps that must be completed.
First you have to register an app, to do this please visit the following website: https://developer.atlassian.com/console/myapps
Click on „Create“ and select „OAuth 2.0 integration“. Enter a name and create the app.

Under „Permissions“ navigate to „Jira Api“, here, configure which Notifications users will recieve later. We advise the following settings:

Within „Authorization“ you will be able to click on „OAuth 2.0 (3LO)“ -> „Configure“ and you should see the following:

Replace the „m42test“ with your system URL.
In „Settings“ you can find the Cient Secret and it’s ID, you will need the ID later on while configurating in WSM.

Configuration in ESM
After installing, you will have a configurated service in ESM. Only the Tenant and Service Connection has to be registered on your own with the Secrects/ClientIDs mentioned before.

Lastly after adding a Tenant, you need to add the Service Connection.
